When you have one or more orders ready to be picked, you can generate a picking list to display all of the products that belong to the selected orders so that they can be picked ready for despatch.
When the required products have been picked, you can generate a packing list which will show exactly which products and postage labels go with which order.
Picking and packing lists can only be generated for orders in 'Postage applied' or later statuses. if you have orders in 'New' status, you will need to apply postage to them first. This can be done manually, via a shipping rule, or by including service, weight, and package format information when you import your order via spreadsheet or API.
Please note that picking and packing lists cannot be generated for 'Manifested' status orders.
Step 1: Add your orders to a batch.
In order to perform actions on multiple orders at once, you should first assign them to the same batch. A batch is a grouping of orders.
Orders can be assigned to a batch in the following ways:
* Orders imported at the same time are automatically placed in the same batch
* Applying postage to more than one order simultaneously automatically places orders in the same batch
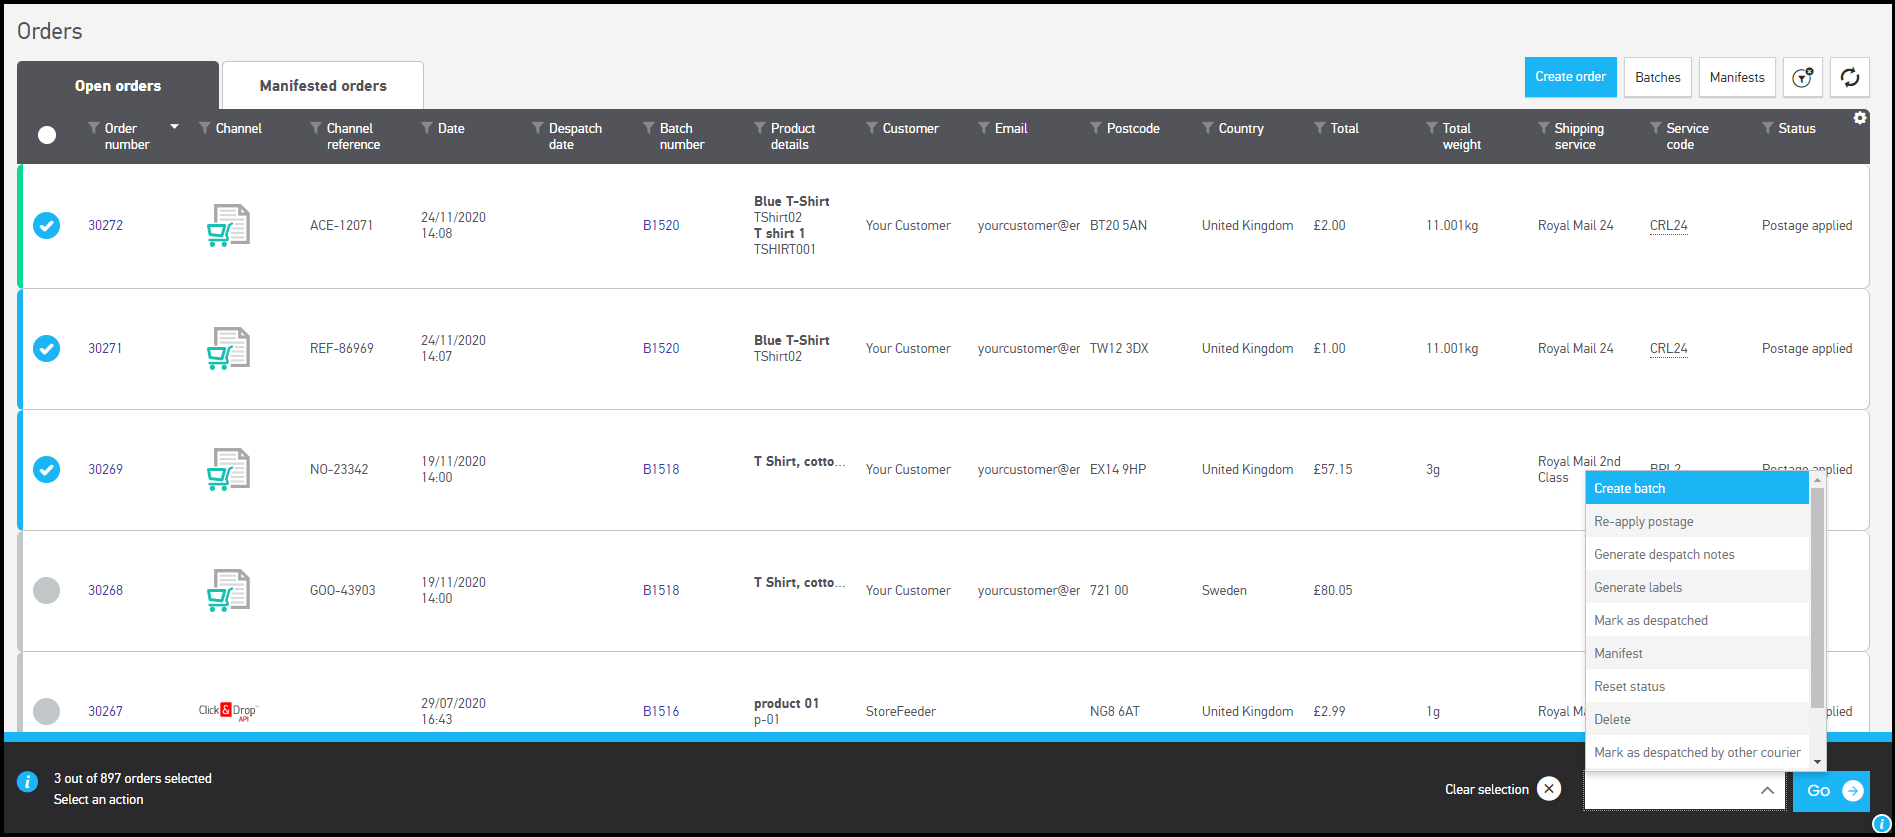
* You can add orders to a batch manually by navigating to the 'Orders' page, and selecting the orders you wish to group. From the 'other actions' dropdown in the bottom right, select 'Create batch' and click the 'Go' button.

You will be asked if you wish to add an optional tag to the batch for easy identification. if you do, type your tag in the box.
If you have selected orders of different statues, and it is not possible to move them all into a new batch, a warning will explain your next steps.
Step 2: Go to the Edit/View batch page
Once you have grouped your orders into a batch, navigate to the 'Batches' page.
Find the batch you wish to generate a picking or packing list for, and click the 'Edit/View' text as circled:

You will be directed to the 'Batch content' page. from here, you can perform several other actions on the orders within your batches.
* Click into an order to view, edit, and reapply postage if necessary
* Generate or re-generate labels for orders
* Go to the packing details page.
* Generate picking and packing lists

Step 3: Use the 'Print' drop down menu.
From the 'Batch content' page, use the circular checkboxes to select any individual orders, or the one in the grey header bar to select every order.
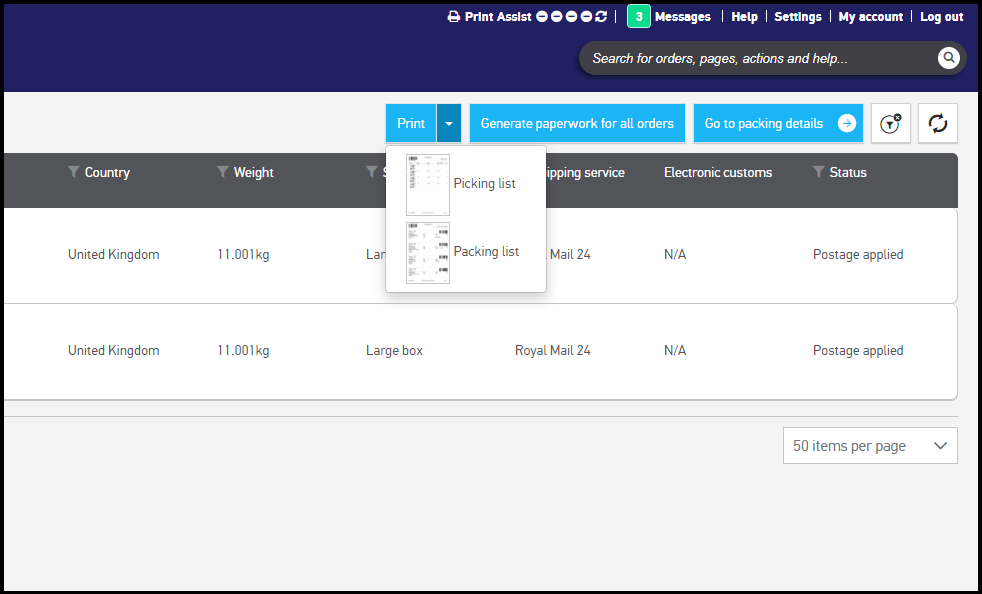
Click the arrow on the 'Print' drop down menu and click the type of list you wish to produce, and your chosen document will be generated.

Sample documents:
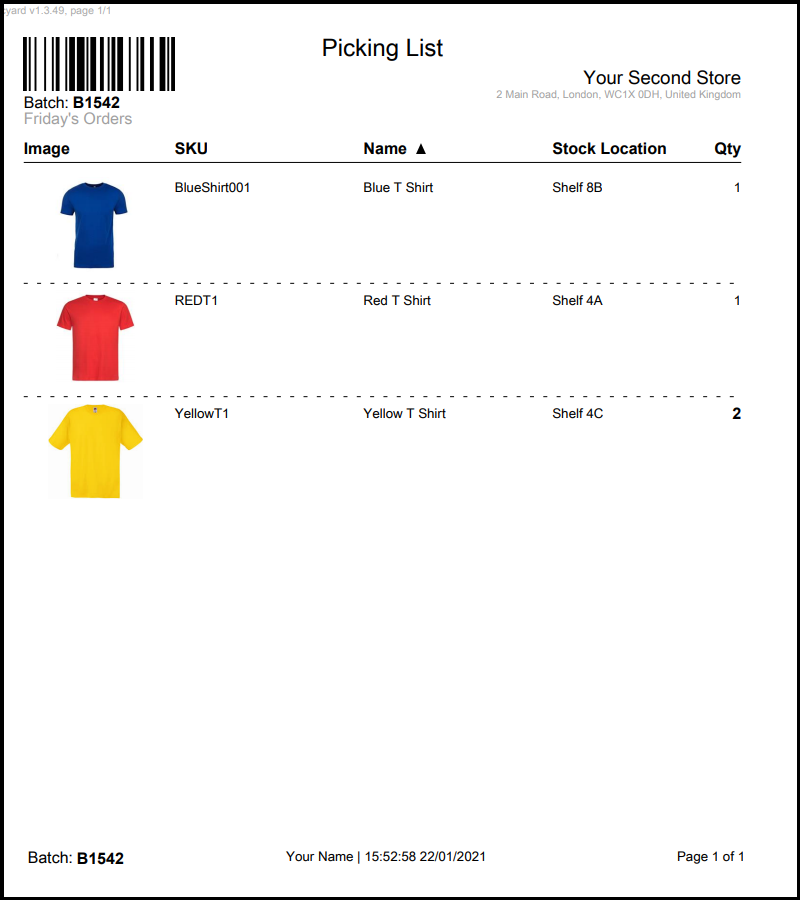
Below is a sample picking list for our two selected orders above.
Images and stock locations can be added on the 'Products' page within ChannelShipper.
The barcode is automatically generated and can be used on the Scan, Print, and Pack page for generating labels.

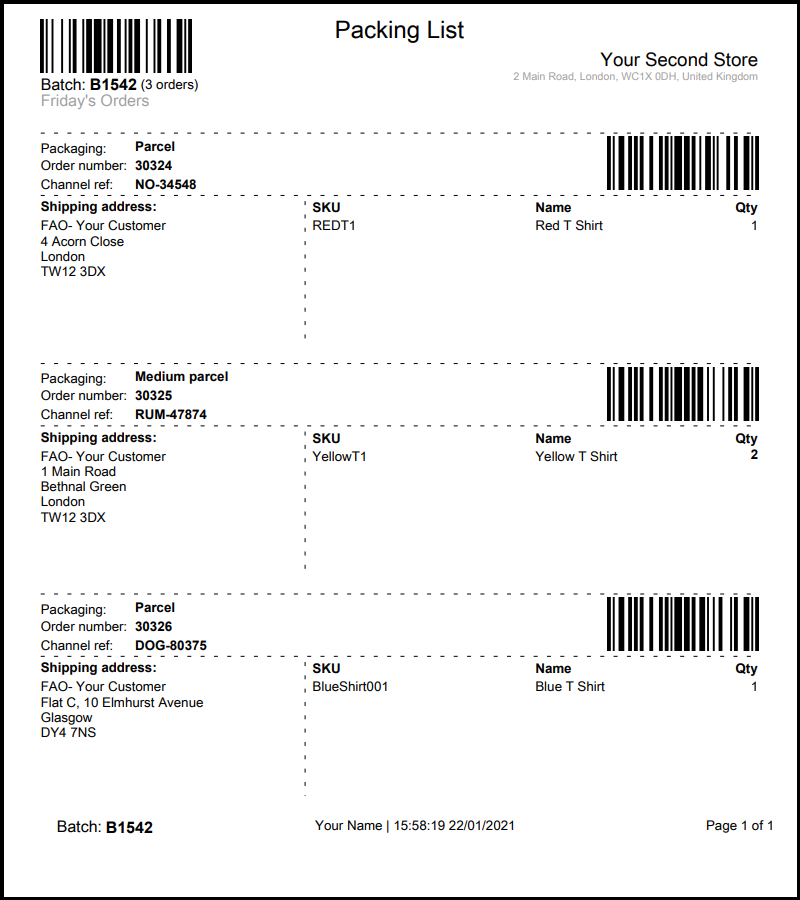
Below is a sample packing list for our two selected orders above.
product SKU and name information can be added in the 'Products' page in ChannelShipper, or can be added to your order information as part of order imports.
The barcodes are automatically generated and can be used on the Scan, Print, and Pack page for generating labels per order or per batch.
